Why are my Loadsmart emails going to spam?
We understand that it can be frustrating when emails from Loadsmart end up in your spam folder. This is a common issue that occurs due to the stringent filters set up by email providers. These filters use algorithms to review incoming emails for certain patterns or keywords commonly found in spam messages. Sometimes, our emails happen to include such elements and may mistakenly be identified as spam. This automatic filtering process isn't perfect and may need your intervention to prevent it.
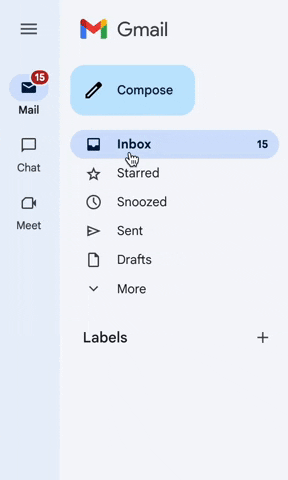
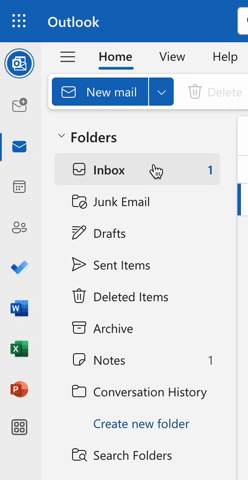
Where can I find the spam folder?
In both Gmail and Outlook, the spam folder can be found on the left sidebar. In Gmail, this folder is labeled ‘Spam,’ while in Outlook, it is labeled ‘Junk Email.’
Mark Loadsmart emails “Not Spam”
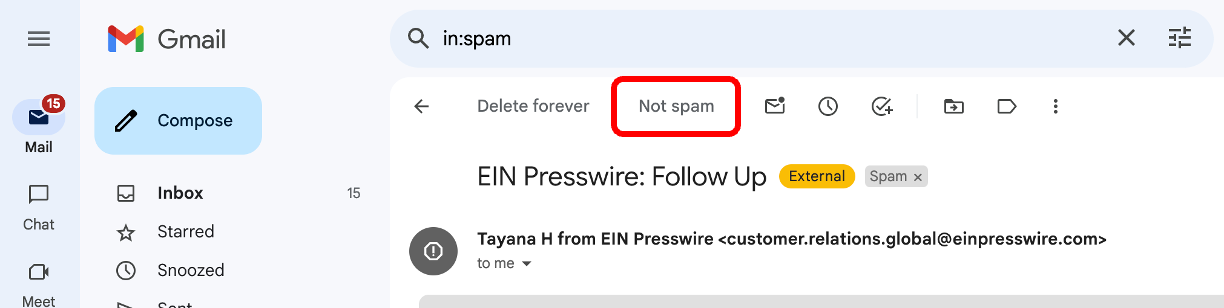
If you find any Loadsmart emails in your Spam folder, mark them as ‘Not Spam.’ They will then
automatically be sent to your main email inbox.
Marking an email as ‘Not Spam will instruct your email service provider that the message was incorrectly identified as spam. Its learning algorithms should learn from the error and mark future Loadsmart emails as safe. However, whitelisting Loadsmart emails is a better way to ensure you continue to get Loadsmart emails.
In Gmail, select the ‘Not spam’ option within the email.
In Outlook, open your Junk Email folder and select the messages you want to keep.
From the top toolbar, select Not junk > Not junk (or Not spam > Not spam). You can also open the message and select the It's not junk link at the top.
Instructions to whitelist Loadsmart emails
Whitelisting an email address means explicitly marking it as safe or trusted within your email system. This ensures that messages from this address are not filtered into the spam or junk folder but instead delivered directly to your inbox.
This is the email address you should whitelist:
- Updates@info.loadsmart.com
For Gmail users:
- Open Gmail and click on the gear icon in the upper right corner to access Settings.
- Go to the Filters and Blocked Addresses tab.
- Click Create a New Filter.
- In the "From" section, enter the email address you wish to whitelist.
- Click Create filter with this search.
- Check the box next to Never send it to Spam.
- Click Create filter.
For Outlook.com users (formerly Hotmail):
- Open your Outlook inbox.
- Click on the gear icon at the top right and select View all Outlook settings at the bottom.
- Go to Mail > Junk email.
- Under Safe senders and domains, click Add.
- Enter the email address you want to whitelist and press Enter.
- Click Save.
For Yahoo Mail users:
- Click the gear icon in the top right corner and select More Settings.
- Click on Filters and then Add new filters.
- Name your filter and in the "From" section, enter the email address to whitelist.
- Under "Choose a folder to move to:", select Inbox.
- Click Save.
For Apple Mail (for macOS) users:
- Open Mail and go to Mail > Preferences from the menu.
- Click on the Rules tab.
- Click Add Rule.
- Type a name for your rule in the "Description" field.
- Set the condition to "From" "is equal to" and enter the email address you want to whitelist.
- Set the actions to "Move Message" to the mailbox "Inbox".
- Click Ok.
For Microsoft Outlook for Desktop users:
- Go to the Home tab and click on Junk > Junk E-mail Options.
- Select the Safe Senders tab and click Add.
- Enter the email address you wish to whitelist and click Ok.
- Apply the changes and close the dialogue.
For Thunderbird users:
- Right-click on an email from the sender you want to whitelist.
- Hover over Junk and select Never Mark as Junk.
- Go to Address Book, click on New Contact, and add the email address you want to whitelist.
| Open a ticket using the Submit a Request button on the top or through the chat bubble. |
Comments
0 comments
Please sign in to leave a comment.